Proxmox Backup Server in LXC
Automatically Install Proxmox Backup Server in a LXC for an Efficient VM Backup Solution Link to heading

I run Proxmox Virtual Environment (PVE) in my homelab, as I have previously documented. Since this serves as the backbone for the entirety of my self-hosted infrastructure, I also maintain a robust backup strategy to both minimize downtime & preserve data. However, there was a long period of time where I neglected to take advantage of Proxmox Backup Server (PBS). Since PVE itself natively has a number of built-in tools to support backups, my default strategy was to simply use the PVE GUI to create a nightly backup schedule that would store copies of my VMs on my NAS. This worked well for a long time but as my data grew, my backup volume started getting out of control.
PVE itself does not support deduplication, therefore my nightly VM backup retention policy was creating and storing full replicas of VMs. This is obviously extremely inefficient from a storage perspective since only a small portion of the data was changing day-to-day. PBS supports incremental & deduplication by default which allows me to choose a much more robust backup schedule since data growth is much less of a concern.
Installation Options Link to heading
The official documentation includes multiple ways to install PBS, including an ISO for a complete OS build on separate hardware. I opted to take advantage of the option to install PBS on top of Debian, but due to the simplicity of the install I chose to use a Debian LXC. The server itself is very lightweight and does not need the overhead of a full VM. Runtime costs for a LXC are usually negligible, but provide similar benefits to using a VM. My current PBS LXC is running at ~1.8% of 2 CPUs, 306MiB RAM, and 1.63GiB for the bootdisk.
Although it may seem counterintuitive at first to run a backup solution on the very cluster where backups are being taken, I’ve found that there are more pros than cons to this setup. The underlying storage for my PBS is an external NAS, so all backups are physically located outside of the PVE cluster. I also take backups of the PBS LXC itself outside of PBS onto two separate NAS devices. Since I am running a PVE cluster, suffering a single node failure where PBS itself is running would simply require restoration of the PBS LXC on another node. Complete cluster failure (5 simultaneous node failure) would obviously first require recreation of the cluster, followed by remounting shared storage and then restoration of the PBS LXC from the NAS.
I encountered some challenges when installing PBS on the LXC, so below is a walkthrough of the process.
Prerequisites for the PVE Host Link to heading
Before the LXC is started, a few minor edits need to be made to the PVE host to allow mapping UID/GID 34 on the host to the LXC:
-
Enable mapping UID/GID 34 on the host to the LXC
Edit /etc/subuid on PVE host
root:100000:65536
root:34:1
Edit /etc/subgid on PVE host
root:100000:65536
root:34:1
The /etc/subuid file is used to define the user ID (UID) ranges that can be used for user namespace mappings in unprivileged containers. The entries in this file specify which UIDs on the host system can be mapped to UIDs within the container.
-
<username>:<start_uid>:<count>
- username is the user for whom the UID range is being defined.
- start_uid is the starting UID on the host.
- count is the number of UIDs that can be mapped starting from <start_uid>.
-
-
Resilient Storage: The Proxmox node where you are creating the LXC must either have resilient storage itself (i.e. raid-backed ZFS pool), or be connected to resilient storage. In my scenario, my node has a CIFS share from TrueNAS mounted to “/mnt/proxmox_backup/server”. The LXC will need this mountpoint passed through to the container so that VMs can be stored externally on the NAS.
Edit the fstab to ensure that your storage is mounted on the PVE host. Below, I created a SMB share on TrueNAS and mounted it to /mnt/proxmox_backup_server on the PVE host. This will be the storage location for PBS.
/etc/fstab
//192.168.5.202/proxmox_backup_server /mnt/proxmox_backup_server cifs _netdev,x-systemd.automount,noatime,uid=34,gid=34,dir_mode=0770,file_mode=0770,user=proxmox,pass=secret_password 0 0Mount options for the above explained:
- _netdev: Indicates that the mount requires network access. This option is useful for network filesystems as it ensures that the filesystem is mounted only after the network is up.
- x-systemd.automount: This option tells systemd to automatically mount the share when it is first accessed. It helps to manage mounting through systemd rather than at boot time.
- noatime: Disables the updating of file access times. This can improve performance by reducing the number of writes to the filesystem.
- uid=34: Sets the user ID (UID) that will own the files in the mounted share. In this case, UID 34 is used.
- gid=34: Sets the group ID (GID) that will own the files in the mounted share. Here, GID 34 is used.
- dir_mode=0770: Sets the permissions for directories within the mounted share. 0770 means read, write, and execute permissions for the owner and group, and no permissions for others.
- file_mode=0770: Sets the permissions for files within the mounted share. Similarly, 0770 means read, write, and execute permissions for the owner and group, and no permissions for others.
- user=proxmox: Specifies the username for authentication with the CIFS share. Here, the username is proxmox.
- pass=secret_password: Specifies the password for authentication with the CIFS share. Replace secret_password with the actual password.
Create the LXC Link to heading
From the PVE commandline we can use Proxmox Container Toolkit (pct) to create the LXC. This will generate the lxc.conf file at the following location:
/etc/pve/lxc/<container-id>.conf
One limitation of the ‘pct’ commandline tool is that you cannot define lxc.idmap, which is needed for proper backup permissions. To work around this, first create the lxc, and then manually add the lxc.idmap to the config file.
If you would like to copy your public key into the lxc, create a file on the PVE host that contains the public key(s) that you would like to include. The ‘pct’ command only accepts a file, so in the below command I have saved my ansible user’s public key in the /root/.ssh folder since I will be using this key in the future to SSH in and configure the host. The password is required since it will also be used to login to PBS once installed.
Update the below command as desired and then run on your PVE host.
pct create 400 truenas_proxmox_shared:vztmpl/debian-12-standard_12.0-1_amd64.tar.zst \
    --arch amd64 \
    --ostype debian \
    --hostname proxmox-backup-server \
    --cores 2 \
    --memory 4096 \
    --swap 512 \
    --ssh-public-keys /root/.ssh/ansible_user.pub \
    --password super-secret-password \
    --features nesting=1 \
    --mp0 /mnt/proxmox_backup_server,mp=/mnt/proxmox_backup_server \
    --unprivileged 1 \
    --rootfs local-zfs:10 \
    --net0 name=eth0,bridge=vmbr0,gw=192.168.5.1,ip=192.168.5.100/24,type=veth
You should see lxc 400 created in the GUI. Now we can now manually add the lxc.idmap lines into the lxc. These will properly map the Backup user (UID/GID 34) on the PVE host to the container & ensure there are no permission errors when running backups from PBS. Run the following on the PVE host to update the newly created lxc configuration file.
tee -a /etc/pve/lxc/400.conf <<EOF
lxc.idmap: u 0 100000 34
lxc.idmap: u 34 34 1
lxc.idmap: u 35 100035 65501
lxc.idmap: g 0 100000 34
lxc.idmap: g 34 34 1
lxc.idmap: g 35 100035 65501
EOF
This is what the final configuration file for container 400 will look like:
# /etc/pve/lxc/400.conf
arch: amd64
cores: 2
features: nesting=1
hostname: proxmox-backup-server
memory: 4096
mp0: /mnt/proxmox_backup_server,mp=/mnt/proxmox_backup_server
net0: name=eth0,bridge=vmbr0,gw=192.168.5.1,hwaddr=AA:BB:11:fe:a3:ee,ip=192.168.5.100/24,type=veth
ostype: debian
rootfs: local-zfs:subvol-400-disk-0,size=10G
swap: 512
unprivileged: 1

#Below lines added to map UID/GID 34 (Backup User) on the PVE host to the container
#UID/GID 0-33 mapped to 100000-100033 & 35-65535 mapped to 100035-165535

lxc.idmap: u 0 100000 34
lxc.idmap: u 34 34 1
lxc.idmap: u 35 100035 65501
lxc.idmap: g 0 100000 34
lxc.idmap: g 34 34 1
lxc.idmap: g 35 100035 65501
A few important points to note:
mp0: /mnt/proxmox_backup_server,mp=/mnt/proxmox_backup_server- This line passes through the storage mounted from the host PVE node to the LXC (using the same exact filepath for simplicity)
- UID/GID must be mapped from host to LXC to ensure PBS has the correct permissions to conduct backups. UID 34 corresponds to the ‘backup’ user on Proxmox. Summary of UID/GID Mappings:
- UIDs and GIDs 0-33: Mapped to 100000-100033 on the host.
- UID and GID 34: Directly mapped to 34 on the host.
- UIDs and GIDs 35-65535: Mapped to 100035-165535 on the host.
I was initially confused about how UID/GID mappings work, so it was very helpful for me to go line-by-line to get a better understanding. Here is a more detailed breakdown of each line above.
User ID Mapping Explained
lxc.idmap: u 0 100000 34
    This maps user IDs (UIDs) from 0 to 33 in the container to UIDs 100000 to 100033 on the host.
    Essentially, the first 34 UIDs in the container (starting from 0) are mapped to a range starting at 100000 on the host.
lxc.idmap: u 34 34 1
    This maps UID 34 in the container to UID 34 on the host.
    This is a direct mapping for UID 34, meaning UID 34 in the container is the same as UID 34 on the host.
lxc.idmap: u 35 100035 65501
    This maps UIDs from 35 to 65535 in the container to UIDs 100035 to 165535 on the host.
    This covers the remaining UIDs in the container, starting from 35, and maps them to a corresponding range on the host starting from 100035.
Group ID Mapping Explained
lxc.idmap: g 0 100000 34
    This maps group IDs (GIDs) from 0 to 33 in the container to GIDs 100000 to 100033 on the host.
    Similar to the user ID mapping, the first 34 GIDs in the container are mapped to a range starting at 100000 on the host.
lxc.idmap: g 34 34 1
    This maps GID 34 in the container to GID 34 on the host.
    This is a direct mapping for GID 34, meaning GID 34 in the container is the same as GID 34 on the host.
lxc.idmap: g 35 100035 65501
    This maps GIDs from 35 to 65535 in the container to GIDs 100035 to 165535 on the host.
    This covers the remaining GIDs in the container, starting from 35, and maps them to a corresponding range on the host starting from 100035.
Now everything should be ready to start your LXC.
pct start 400
Inside the LXC, follow these instructions to install PBS Link to heading
-
Download and install GPG Key for PBS: Link to heading
wget https://enterprise.proxmox.com/debian/proxmox-release-bookworm.gpg -O /etc/apt/trusted.gpg.d/proxmox-release-bookworm.gpg
-
Update /etc/apt/sources.list: Link to heading
tee -a /etc/apt/sources.list <<EOF
deb http://deb.debian.org/debian bookworm main contrib
deb http://deb.debian.org/debian bookworm-updates main contrib
deb http://security.debian.org bookworm-security main contrib
deb http://download.proxmox.com/debian/pbs-client bookworm main
deb http://download.proxmox.com/debian/pbs bookworm pbs-no-subscription
EOF
Update and install PBS: Link to heading
apt update && apt upgrade -y && apt install -y proxmox-backup-server
PBS is now running on https://your.server.ip.addr:8007 Link to heading
Login with username: root and the password you configured when creating the LXC earlier.
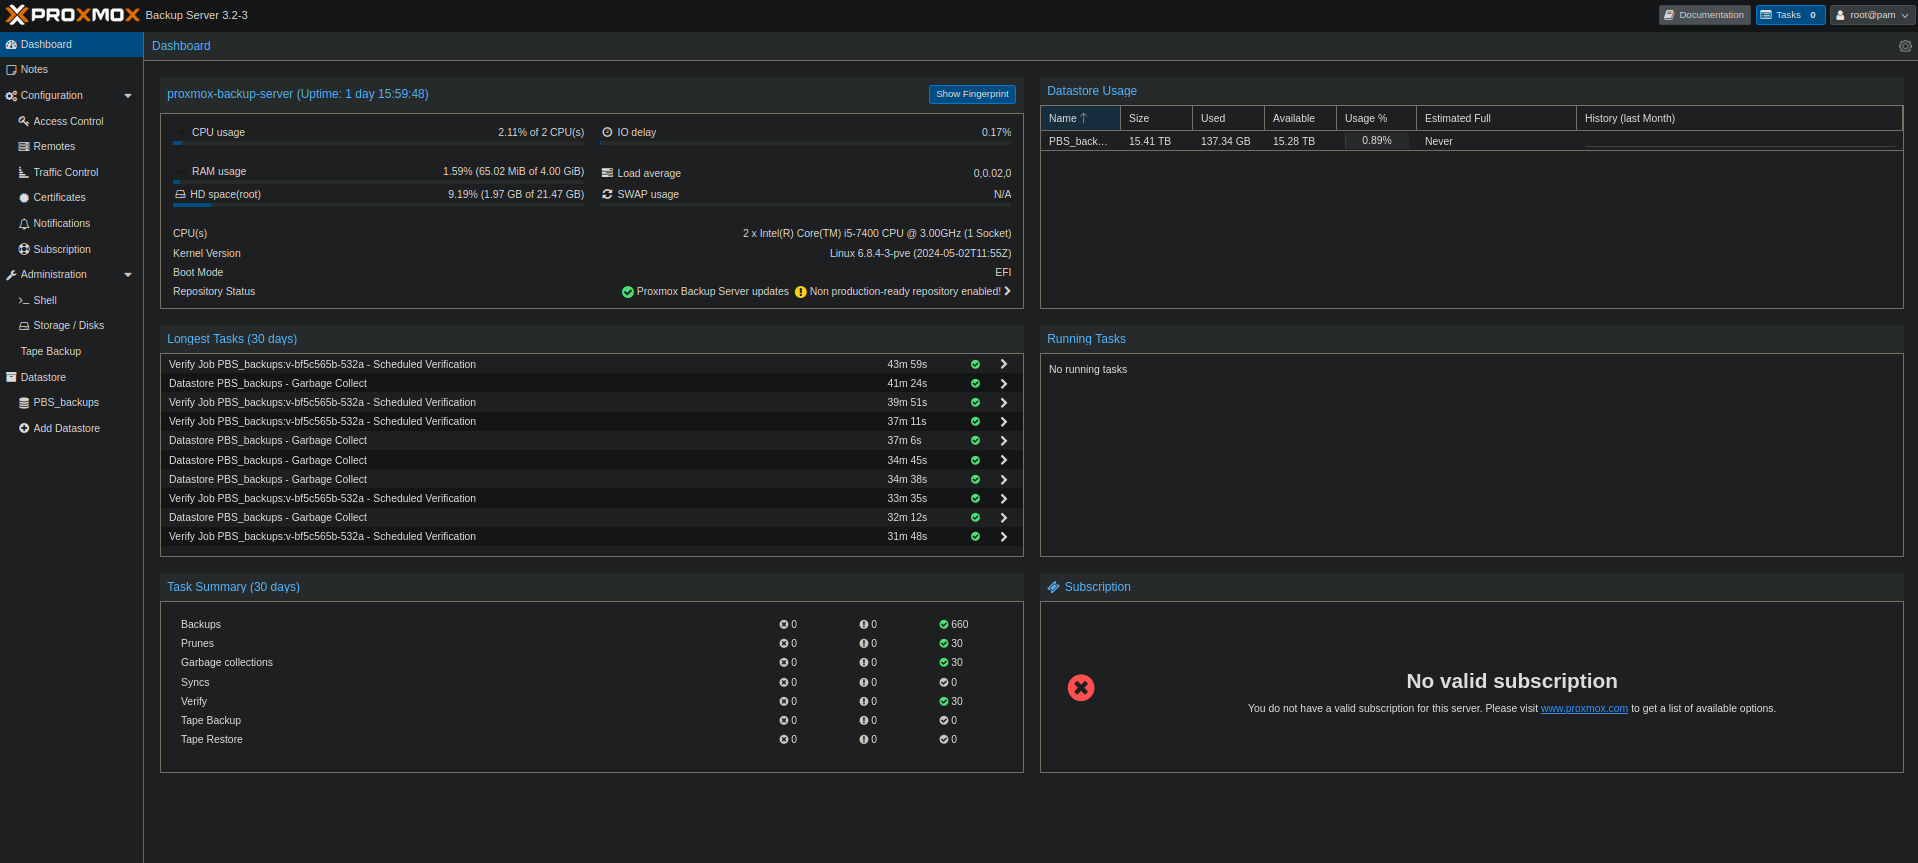
Now you can create a PBS datastore, add PBS as a storage source on PVE and configure backup jobs. I believe it is best to setup backups from PVE with a destination of PBS, but set retention policy of “keep all” and then handle pruning from PBS itself. Use PBS Prune Simulator to figure out a retention schedule that works best for your storage & data retention needs.
I currently have the following settings for reference:
- Backups at 12PM/10:30PM daily to PBS
- 8PM: Nightly Prune, Keep last 6, Daily 5, Weekly 4, Monthly 2
- 9PM: Nightly verify jobs (Skip verified, re-verify after 30 days)
- 10PM: Nightly Garbage Collection task
Automating the Installation Process Link to heading
My working automation script can be found here on my Github page. I ultimately decided to approach this automation task by using Terraform to define and create the LXC infrastructure, Ansible to update the configuration file after creation, and a simple Bash script to tie it all together.
I initially thought that automating this installation would be simple, but instead spent a few nights after first writing this article going through several iterations of an automation script. Creating a bash script would have been fairly straight forward following similar steps to this github example by ’tinoji’ using pct, however that would need to be downloaded and run directly on the PVE host itself. I prefer to use tools such as Terraform and Ansible to define and automate the process from an external host. I won’t go into these tools in depth, but getting more opportunities to work with each instills me with greater knowledge as I relentlessly troubleshoot errors. This time was no different, and was enlightening to uncover the limitations of each in Proxmox. There were times while writing this automation script that I had planned to abandon both Terraform and Ansible individually, but ultimately opted to use both.
Here are a few of the limitations I found:
1. Terraform in Proxmox is unable to natively create a NFS mountpoint for a LXC.
- The API requires a “size” to be defined when creating the mountpoint, but ultimately fails to be created. This was documented in a stale Github issue back in 2020.
2. Terraform in Proxmox is unable to natively declare lxc.idmap.
- This is a limitation of the API, as documented in a Github issue
3. Ansible’s Community General Proxmox Module seems to have the same limitations as Terraform
- This means that creating a LXC with NFS backed mountpoint and creating custom idmap requires manually editing the lxc configuration.
4. As laid out in my manual installation steps, the ‘pct’ tool is also unable to create LXC with idmap defined.
- Once again, manually editing the LXC configuration file is required.
Reference: